Installing artificial grass is an excellent way to create a beautiful, easy-to-maintain landscape for homes and businesses. However, the success and longevity of your artificial grass installation largely depend on preparing the surface correctly.
At Magnolia Turf, we focus on getting the basics right to ensure your artificial turf installation is smooth, durable, and long-lasting. Below, we explore six key surface requirements for installing artificial grass.
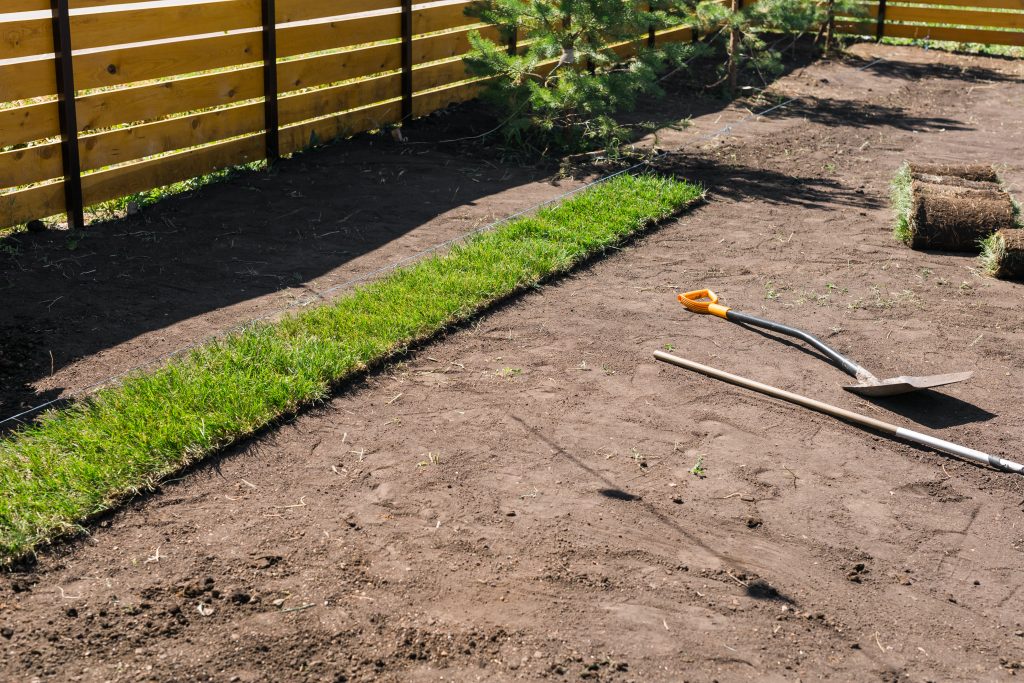
1. Clearing the Area
Before laying artificial grass, it’s important to clear the area of any plants, debris, or old turf. This step ensures that the new artificial grass will have a smooth, even surface to adhere to.
Begin by removing any plants, roots, and rocks that could create bumps or uneven spots on the turf. A clean, cleared surface is crucial for preventing future issues like drainage problems or turf displacement.
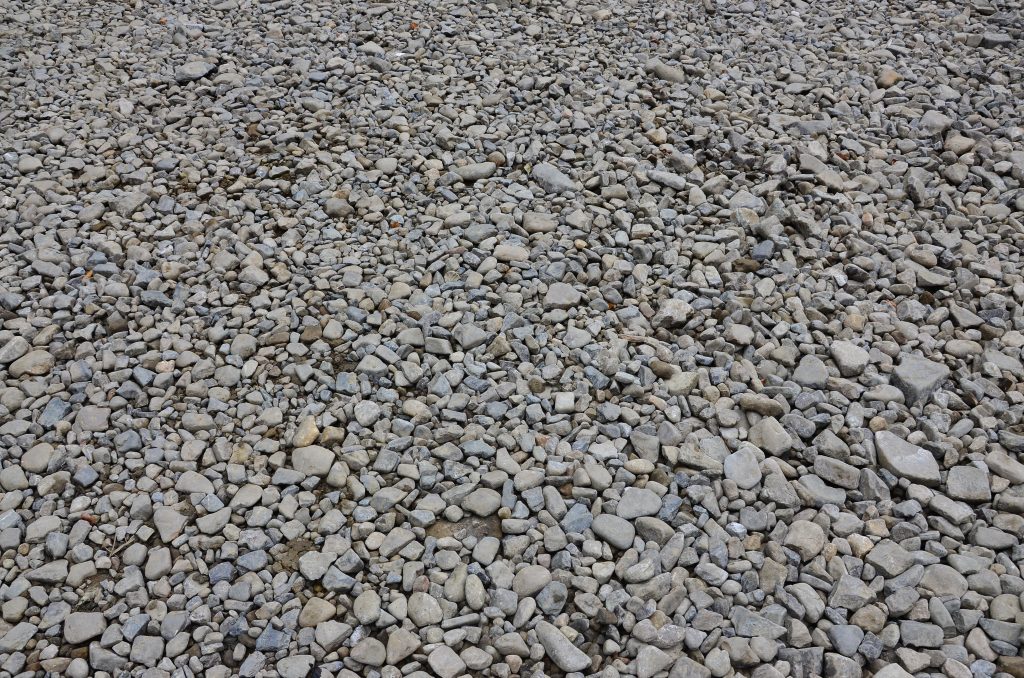
2. Creating a Proper Sub-Base for Artificial Grass
The sub-base is a critical component in artificial grass installation. It serves as the foundation that supports the turf, ensuring stability and proper drainage.
Typically, the sub-base consists of a layer of crushed stone or gravel. The installation team packs down this material to create a solid, even surface that will hold the artificial grass in place.
If you don’t prepare the sub-base correctly, the turf can shift, develop low spots, or have poor drainage, which can cause water to pool on the surface.
Types of Sub-Bases
You can choose different types of sub-bases based on the soil conditions and how you plan to use the artificial grass. For instance, areas with clay soil might require a thicker layer of crushed stone to enhance drainage. On the other hand, a standard sand or gravel sub-base is often sufficient for residential installations.
Choosing the right sub-base material is key to keeping your artificial grass stable and lasting for a long time.
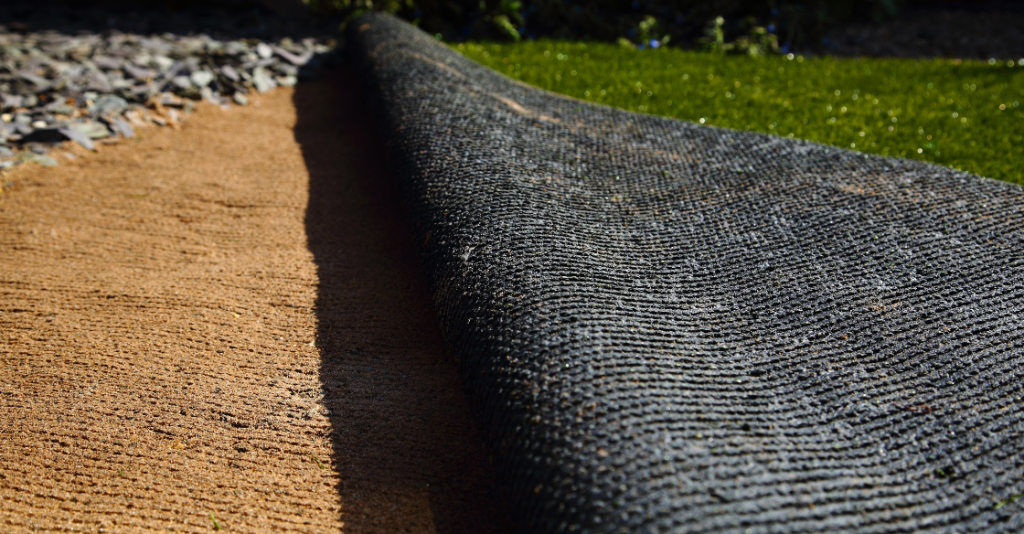
3. Installing a Weed Barrier
Weeds can be a significant problem if not properly managed during artificial grass installation. To prevent weeds from growing through the artificial turf, it’s essential to install a weed barrier between the sub-base and the turf.
This barrier is typically a layer of geotextile fabric that blocks weed growth while allowing water to drain through. Adding a weed barrier not only keeps the artificial grass looking good but also cuts down on future upkeep, making it essential for any artificial turf installation.
4. Ensuring Proper Drainage
Proper drainage is crucial for maintaining the integrity and appearance of artificial grass. Without adequate drainage, water can accumulate on the turf’s surface, leading to mold, mildew, and unpleasant odors.
To ensure proper drainage, design the sub-base to allow water to flow through and away from the surface. Adding a slight slope during installation can help guide water to drainage areas, preventing puddles and water damage.
Drainage Considerations for Artificial Turf
For areas prone to heavy rainfall, enhanced drainage solutions may be necessary. For example, installing a more permeable sub-base material or adding drainage channels can help manage excess water effectively.
Focusing on drainage during installation helps your artificial grass last longer and keeps it looking great, no matter the weather.
5. Leveling and Compacting the Surface
Once the sub-base and drainage system are in place, the next step is to level and compact the surface.
A smooth, even surface is essential for preventing wrinkles, creases, and uneven spots in the artificial turf. Use a plate compactor to compress the sub-base material, ensuring that it is firmly packed and level.
This step notonly makes the artificial grass look better but also helps it last longer and feel more comfortable to walk on.
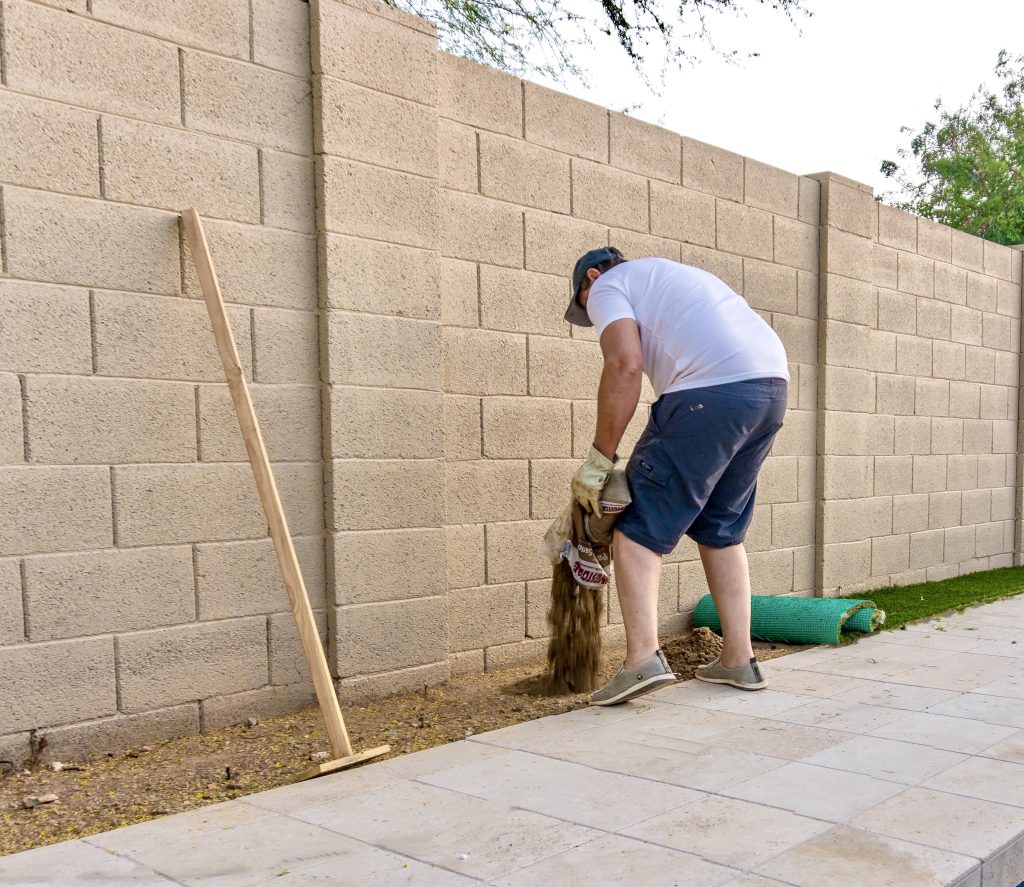
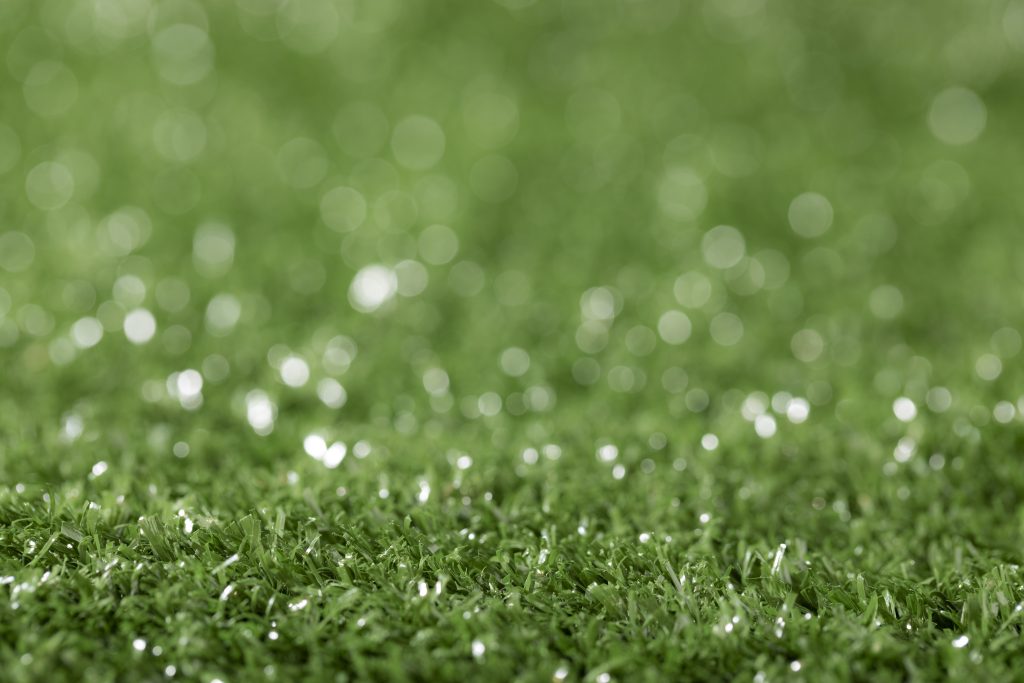
6. Laying and Securing the Turf
After the surface has been prepared, the artificial grass can be laid out and secured. Begin by unrolling the turf and allowing it to acclimate to the environment. This step helps prevent shrinkage or expansion after installation.
Once the turf is in place, trim the edges to fit the area perfectly. Finally, secure the turf using landscaping nails or adhesive, depending on the installation method. Properly securing the turf is essential for preventing it from shifting or lifting over time.
Final Touches: Adding Infill
Infill is the material placed between the blades of artificial grass to support the turf and enhance its performance. It provides stability, helps the turf blades stand upright, and improves the overall feel of the artificial grass.
Common infill materials include sand, rubber granules, or a combination of both. The type of infill you choose can impact how long the turf lasts, how well it drains, and how comfortable it feels, so it’s important to pick the right material for your needs.
Conclusion
Installing artificial grass is a fantastic investment that can transform any residential or commercial space. However, achieving a flawless and long-lasting installation requires careful attention to surface preparation.
By following these six key steps—clearing the area, building a strong base, installing a weed barrier, ensuring good drainage, leveling and compacting the surface, and properly laying the turf—you can achieve a long-lasting, low-maintenance artificial turf installation that looks great.
At Magnolia Turf, we tailor top-quality artificial grass to fit our clients’ specific needs. Our expert team guides you every step of the way when installing artificial turf for backyards, playgrounds, or sports fields, ensuring your project meets the highest standards.
Contact us today to learn more about our artificial grass products and installation services.